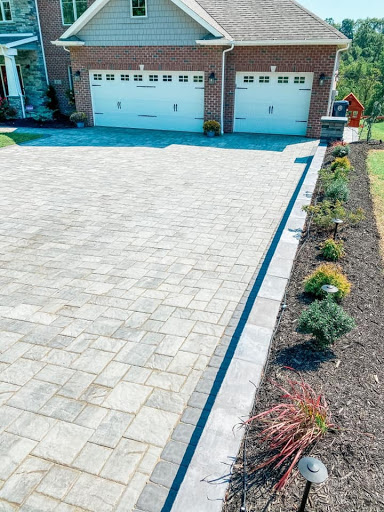
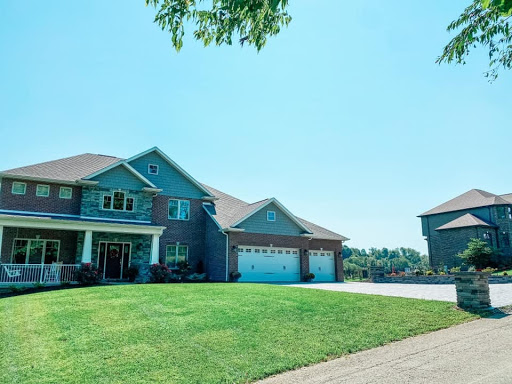
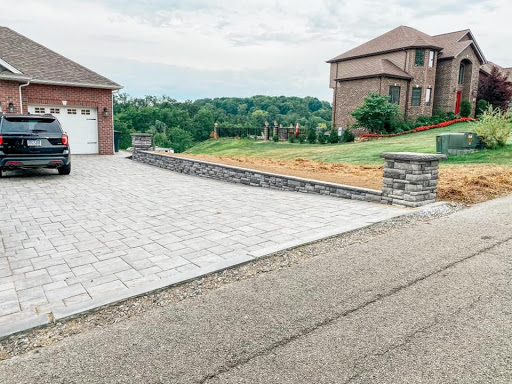
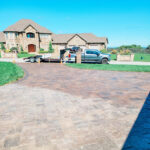
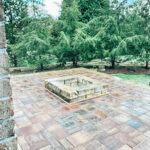
After Kevin finished the projects out in the backyard last summer, he decided to revisit the driveway out front and give it a little more wow factor. We wanted to add a paver wall with some landscaping and landscape lighting along the one side of the driveway as well as some pillars for effect.
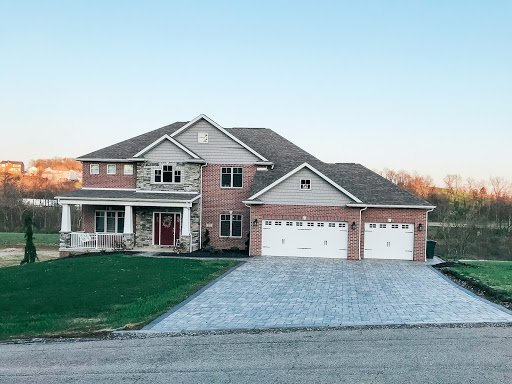
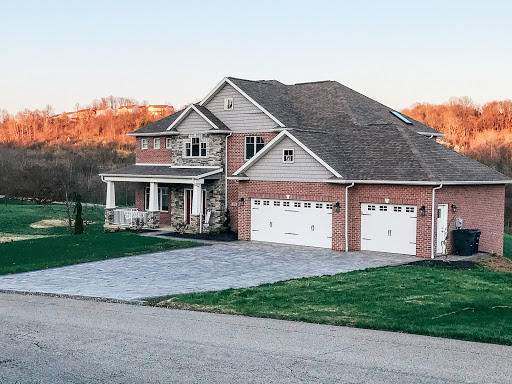
To begin the project he excavated, graded and removed the dirt to make a level area. Next, he excavated the footer and installed the base stone aggregate. After compacting the level base, the first row of base blocks were installed. Then directly behind the block a drain pipe was installed to divert any water out around the wall.
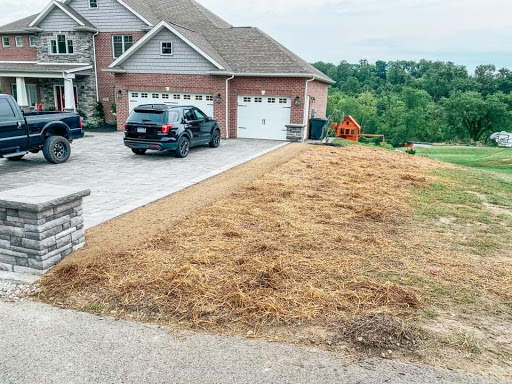
As each course of wall block was laid it was filled with coarse gravel inside behind each block and also tied in with geogrid to add strength during the backfill process. He also added conduit for electrical wiring midway thru. Although we did not choose to put lights on our pillars at this time, we wanted the option to have this feature down the road in the future. It made more sense to do it at install rather than having to go back later and add it in. Once he reached the desired height of the wall then the cap stone was glued and installed.
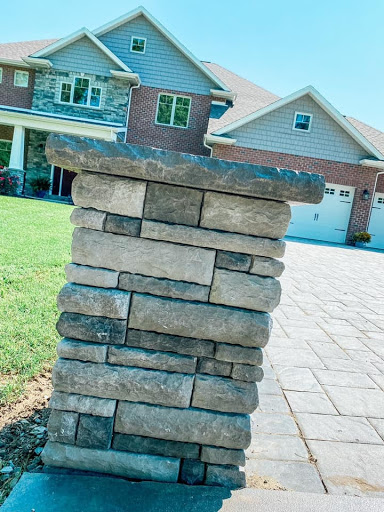
The process for building the pillars was very similar to when he built the wall. We went with the same HP Henry stone color choice that we used outback and on the driveway so that everything tied together nicely. The pillars helped to create more of an entryway look for our driveway and made our home stand out a bit more than it had before.
Our landscaping plants came from Grandview Nurseries in Irwin, PA. They did a great job of helping us decide which plants would be the best fit for this space. We finished the area with black mulch. Lastly, Kevin added the landscaping lights to really make the driveway pop when you drive past it at night.
